
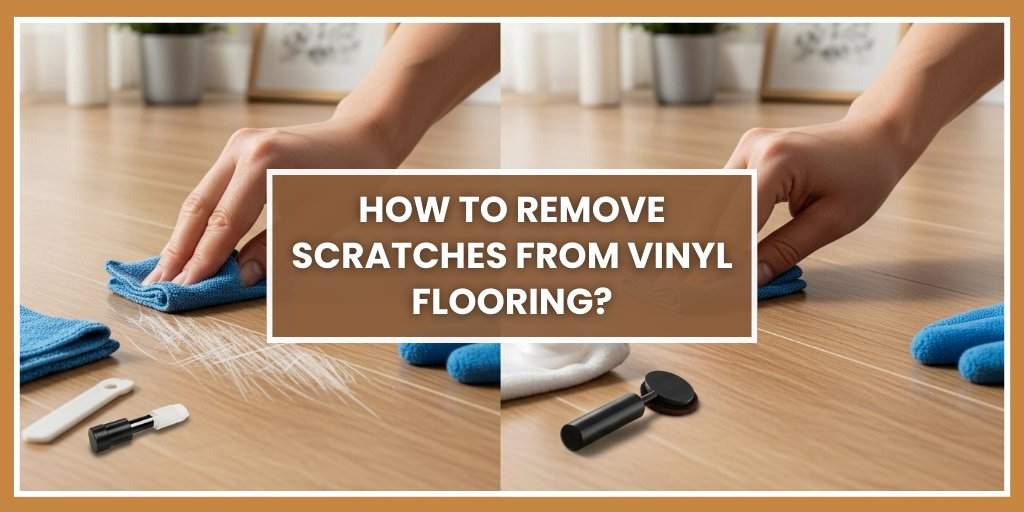
Vinyl floors are among the top-tier choices when it comes to low flooring maintenance and durability in both homes and offices. You can choose any of them, whether the LVP (luxury vinyl planks), the LVT (luxury vinyl tiles), or sheet vinyl, all of them offer high resistance to wear & tear, moisture and stain resistance. Still, time takes a toll on all kinds of materials, and even your toughest grade vinyl floors will start to show signs of scuff marks, gouges, and scratches. So, is there a way to remove those scratches? Yes, we present a complete guide on how to remove scratches from vinyl flooring. Just stick with us, and you will learn how to fix both light and deep scratches.
Understanding Vinyl Floor Scratches
No need to get your gloves on to start repairing the vinyl flooring Dubai. First, let’s know the damage on your vinyl floors. These floors feature multiple layers: a backing layer, a rigid core layer, a print design layer, and lastly, a protective top layer. Most scratches usually happen on this topmost layer. The light surface scratches would be the small scuff marks or lines that affect only the finish layer. Medium scratches are quite visible and will penetrate the wear layer, but still do not damage the design layer. Deep scratches or gouges will be exposed to the innermost layer, tearing the design film.
When you have identified the type of scratches, you will be able to choose the best LVT scratch repair method or the LVT scratch repair kit better.
5 Steps For Ideal Removal Of Scratches From Vinyl Flooring
Here are the 5 steps to ensure a clean and professional removal of scratches from vinyl flooring.
Step 1: Clean the Area Thoroughly
Before you start the repair work for these scratches, cleaning the floor is the first thing. Use a soft cloth or microfiber to mop your vinyl floors with a soft floor cleaner. Do not use any abrasive chemical, or the damage will pile up. Just mix a few drops of dish soap in warm water. Dip your mop in it and clean away the dirt, dust, and residue from the scratched vinyl planks (porysowane panele winylowe). Dry this spot completely with a dry mop or a towel.
Step 2: Repair Light Surface Scratches
If you are dealing with light scuff marks or scratches, all you need is a simple buffing to restore that shine of new-like vinyl flooring. There are two options that you can make use of.
Option 1: Olive Oil or Mineral Oil Buffing
Just take a few drops of olive oil or mineral oil on a clean soft cloth. Simply rub the scratched area in a circular motions and the scuff marks will come right off. Take a clean cloth or paper towel to wipe away the excess oil. If there are still scratches or marks, just buff the area again. This works best for the vinyl wood flooring where you need the shine.
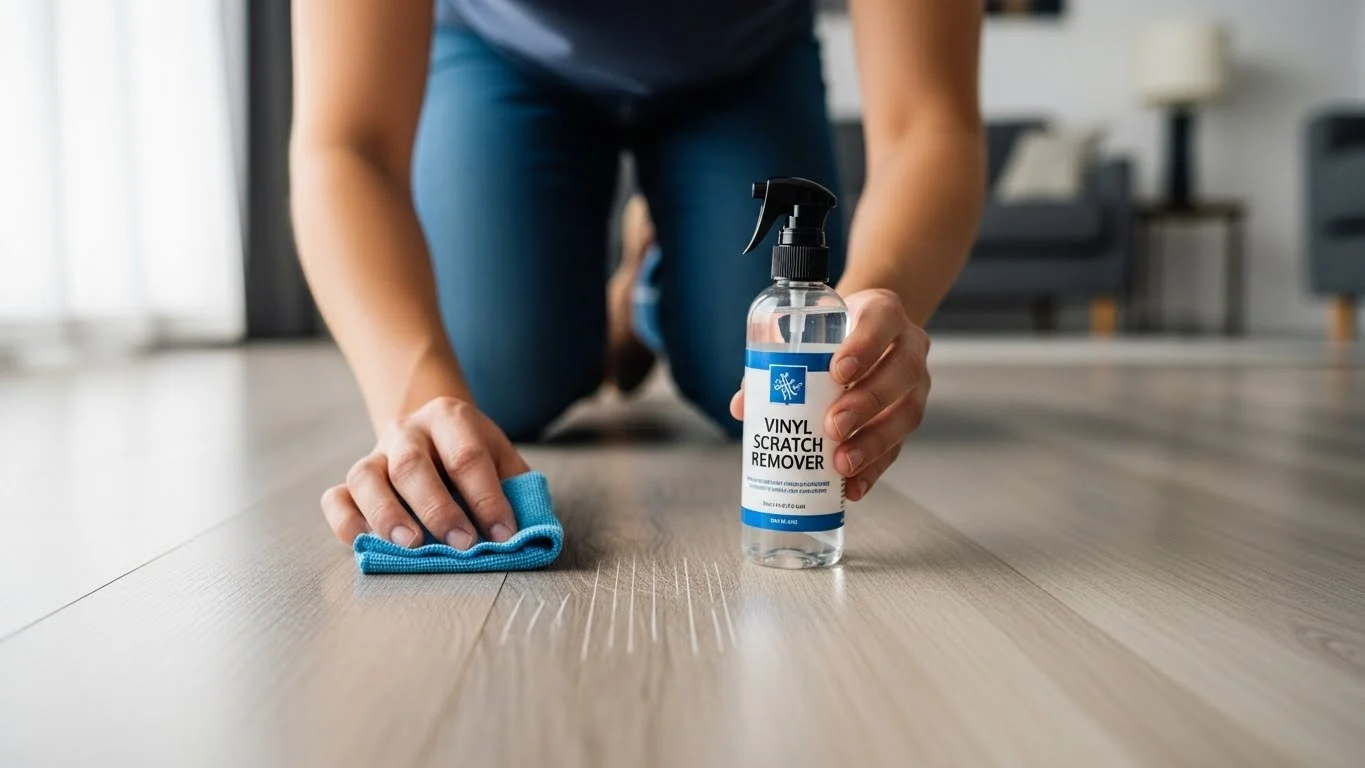
Option 2: Use a Vinyl Scratch Remover
In case the scratches are more visible, you need to use a vinyl scratch repair solution made specially for the LVT or LVP flooring. These cleaner have compounds that will fill in the small scratches and restore its original gloss. Simply apply the repair solution as per the product instructions and let it dry completely.
Step 3: Fix Moderate Scratches with a Repair Kit
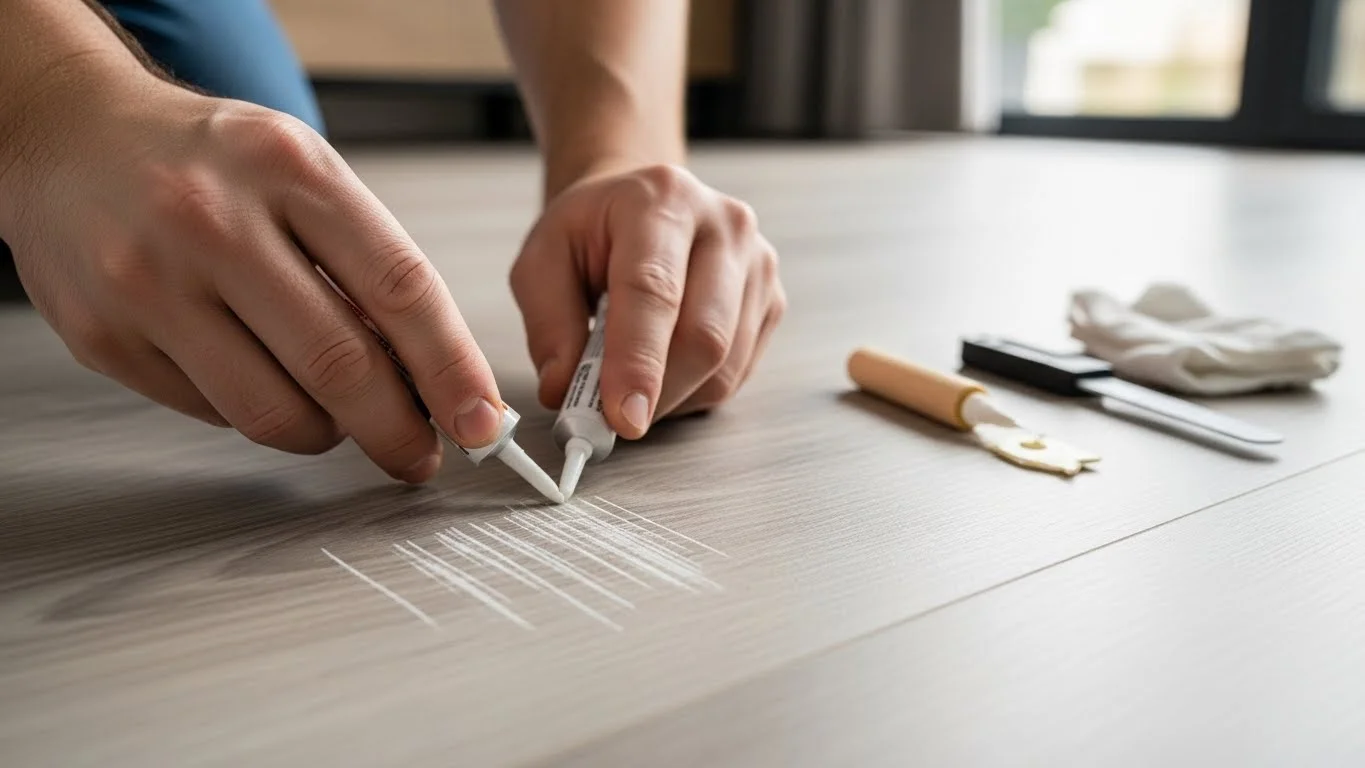
If your scratches are visible, the LVP scratch repair kit or the LVT scratch repair kit is the best bet. These kits are available at almost every hardware store. Mostly, these will be wax sticks, fillers, or markers that match the vinyl floors. To use them, start by cleaning the scratched area. Use the color-matching filler or repair wax and apply it to the scratch with a plastic scraper. If there is any excess wax, just remove it carefully. For that shine and gloss, buff the surface with a clean cloth. These kits are made to blend smoothly within the vinyl grain to create a realistic wood-look vinyl floor.
Step 4: Repair Deep Scratches or Gouges
Sometimes, the vinyl floors get damaged too badly, with deep gouges that expose the inner layers. A simple wax is not the solution; you will need an advanced method to fix a gouge in vinyl plank flooring.
Option 1: Use a Vinyl Floor Repair Compound
For this method, you need to buy the epoxy filler or a floor repair past. Apply it on the scratches surface with a putty knife and smoothen it. Let it match the surface level evenly and let it dry. After it dries up, use the sandpaper with a fine-grit to take care fit. For an added touch, use the matching color marker or wax to create the new-like finish.
Option 2: Replace the Damaged Plank or Tile
If the damage is too much, there is nothing you can do but replace a single plank or tile. Modern vinyl floors usually have click-lock systems that make it easier to remove or replace the damaged pieces. You can do this easily without damaging your entire flooring surface.
Step 5: Protect and Maintain Your Vinyl Floor
Once the floors are repaired, you need to protect them from any future scratches. You can make them keep looking new by placing felt pads under the furniture legs to prevent scraping. Never drag heavy items, instead lift them to move them around. The entrance area floors get the most scratches, so it’s best to place rugs or mats there. Lastly, maintain a habit of doing regular vinyl floor cleaning with a vinyl-safe cleaner.
If you are worried about the porysowane panele winylowe (scratched vinyl planks), use the same repair steps for it as well. The best scratch repair for vinyl flooring needs a careful consideration. You need to factor in things like depth of the flooring damage, the floor color, and the finishing type.
Final Thoughts
Scratches on the vinyl floors are bound to happen, but they don’t need to be permanent. With our guide on how to remove scratches from vinyl flooring, you will have a way to deal with any level of scratch damage, whether to the top layer or the innermost layer. But keep in mind, prevention is always better than repair. A proper maintenance and the use of protective measure will save you from dealing with scratches or damaged floors later.
FAQs
1. How to fix deep scratches in vinyl flooring?
You must use an epoxy-based vinyl repair compound to fill the scratch and let it dry. Once its dried up, use the matching floor color of the LVT or LVP repair kit.
2. How to remove scratches from vinyl flooring?
They can be removed by buffing the flooring surface with vinyl cleaner or oil. In case of a deeper mark, use the filler compound.
3. How to fix a gouge in vinyl plank flooring?
You can fill the gouge with a repair paste made for vinyl floors. Apply it with a spatula to even it out. Once its dried up, use a sandpaper to smoothen it and then apply a color-match marker.
4. Which product is the best scratch repair for vinyl plank floors?
There are quite a few products in the market to repair vinyl plank flooring scratches. We recommend, WearMax Scratch Concealer and Rejuvenate Scratch Remover.


